In our last installment about soldering, we cover how to solder many common types of components using a traditional iron. A good soldering workstation is however incomplete without hot air rework. No one can argue against the versatility of the iron, but hot air can be indispensable when needing to remove a surface mount IC with many pins or when soldering a PCB with a large copper pour since the extra metal can pull heat away from the solder before it melts. This process can differ from using an iron, so here are some basics of hot air soldering.
We will be using the hot air side of the YIHAU 853D soldering station. This particular unit has temperature control capable of 212°F-896°F and an airflow control at flow levels labeled 1-8. You want a temperature a fair amount higher than your solder melting temperature because you want to quickly melt the solder before the rest of the PCB reaches that temperature. Your airflow choice can vary, but generally, you want to start with lower airflow and increase as needed. If you start with too high of airflow, small components could be blown away. I’ll be working with my temperature set to 752°F with airflow set to 3 of the max 8 and using a relatively narrow nozzle. I’ll also be using silver lead-free CHIPQUIK solder paste found here. The other tools I’ll be using are non-magnetic tweezers, a large metal plate as a heat-safe surface, and safety glasses. All components used will be surface mount.
Step By Step
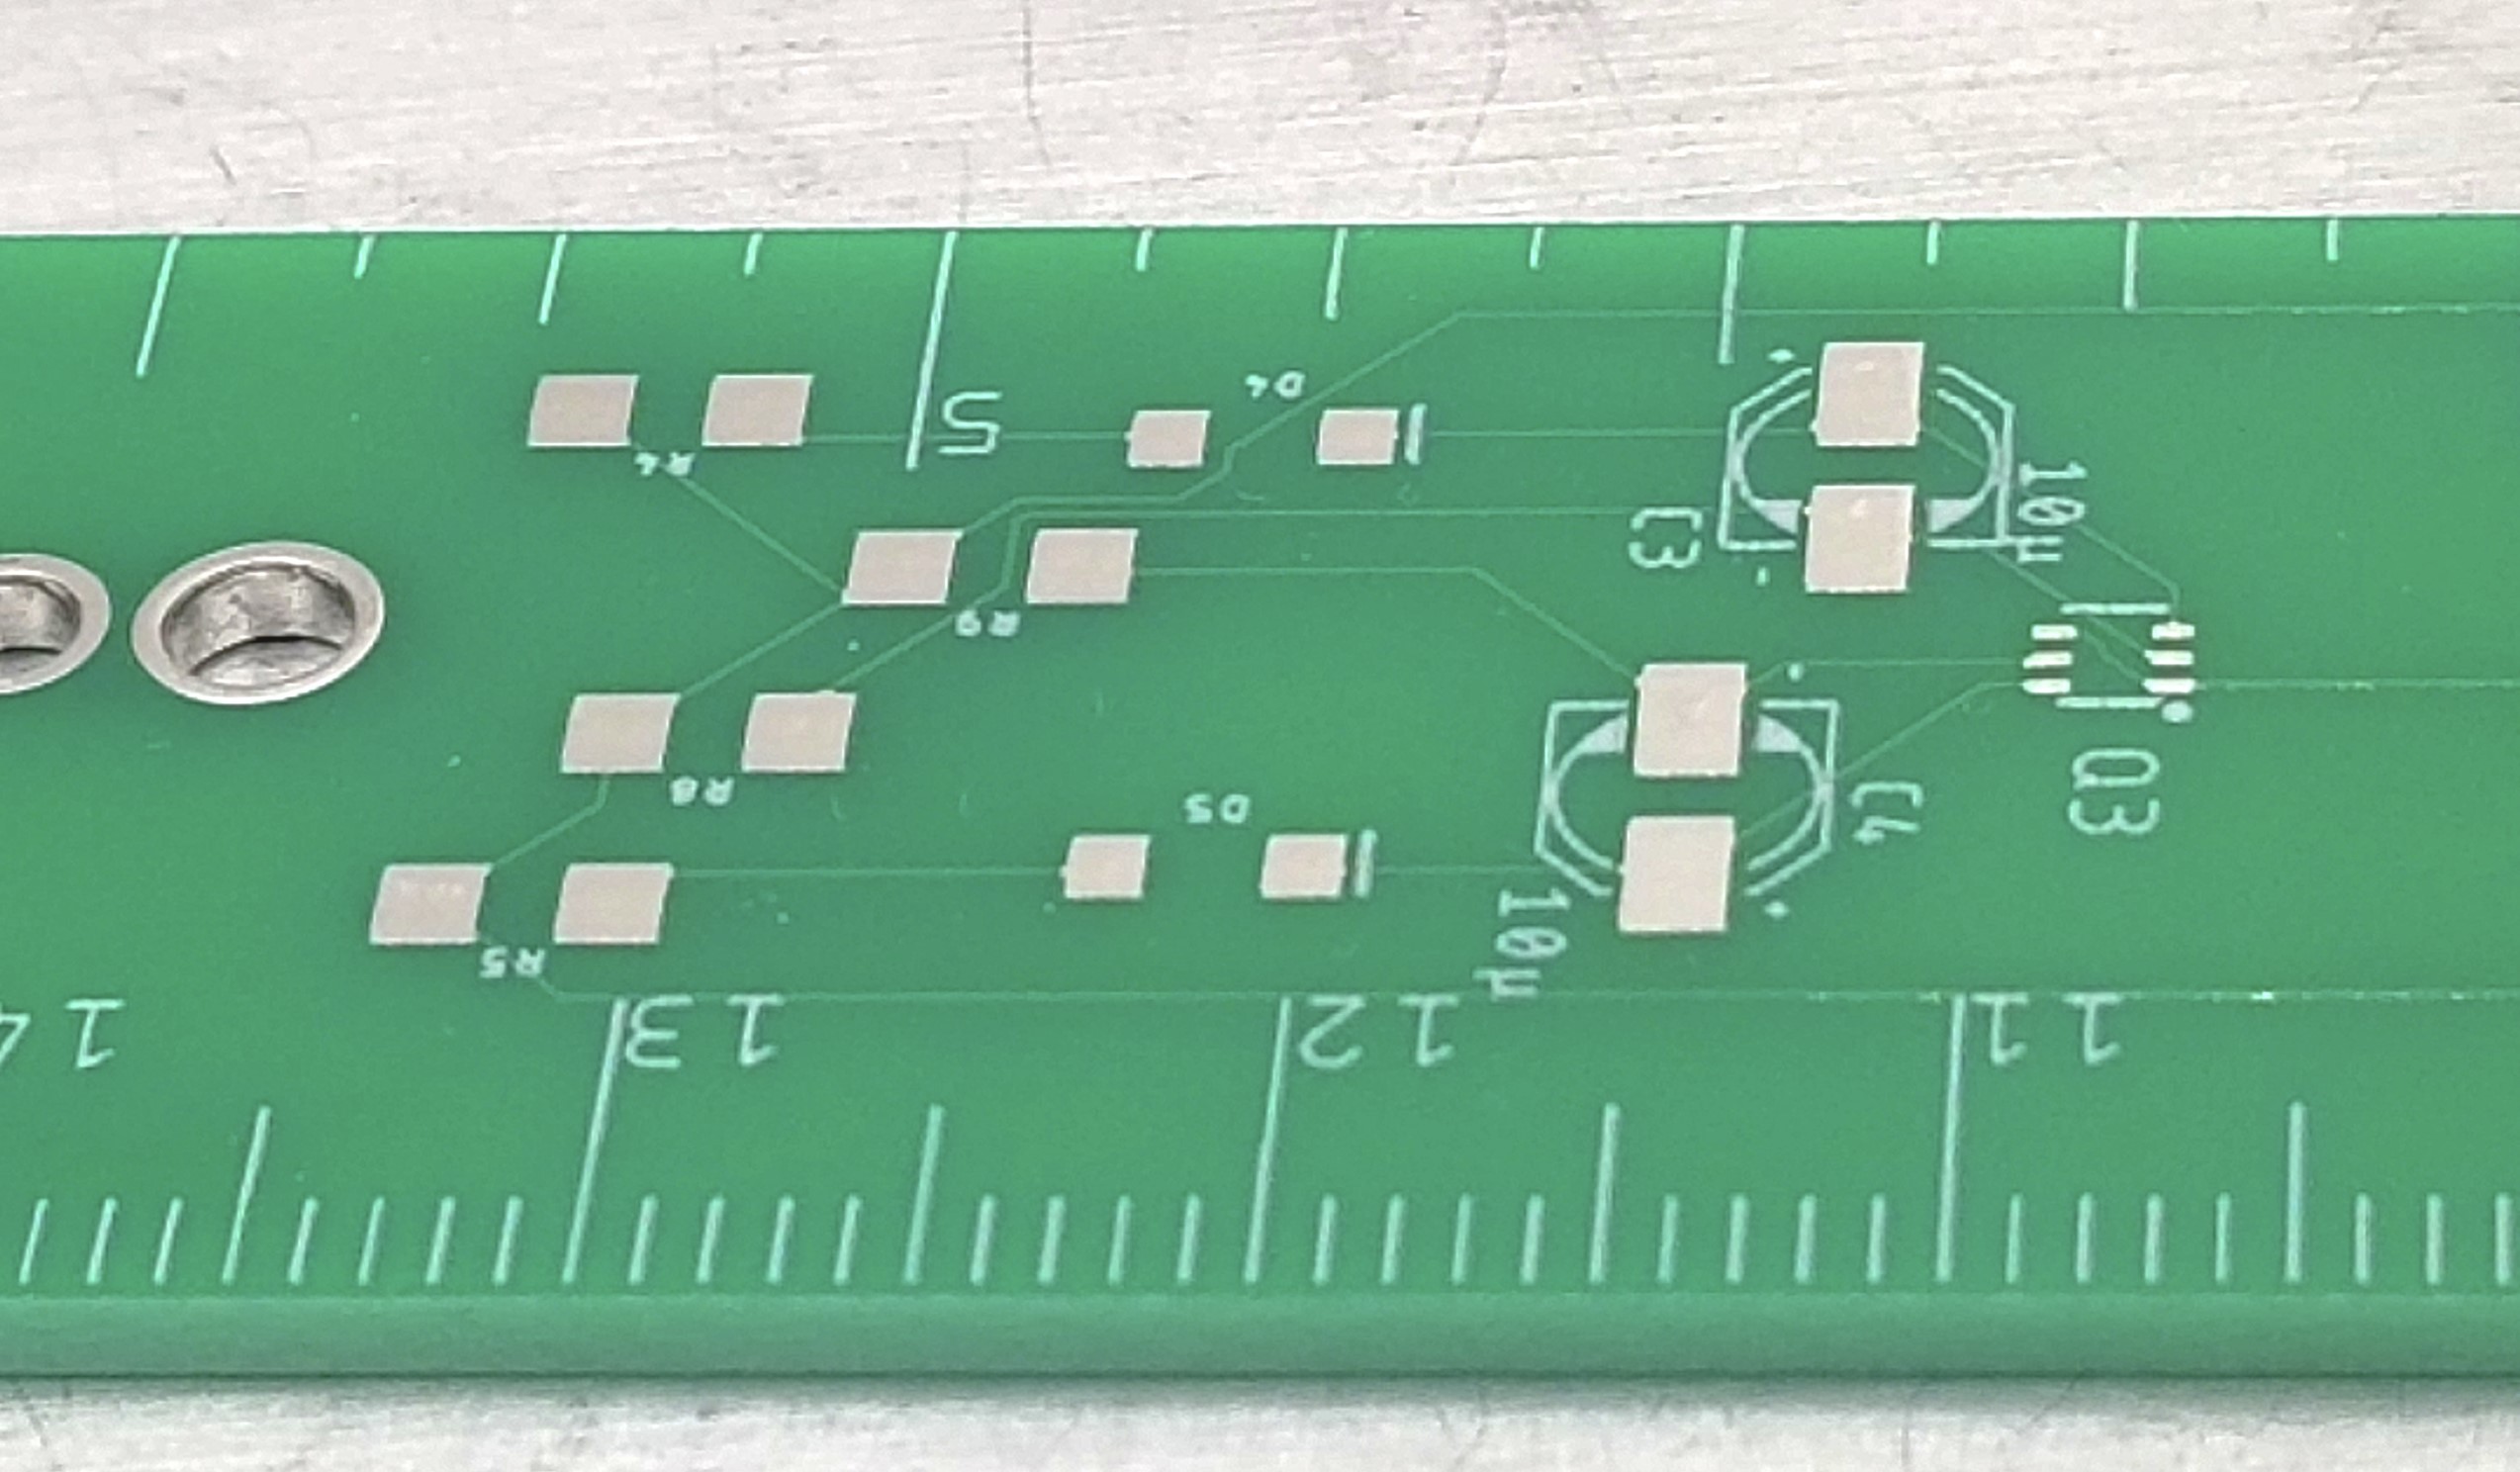
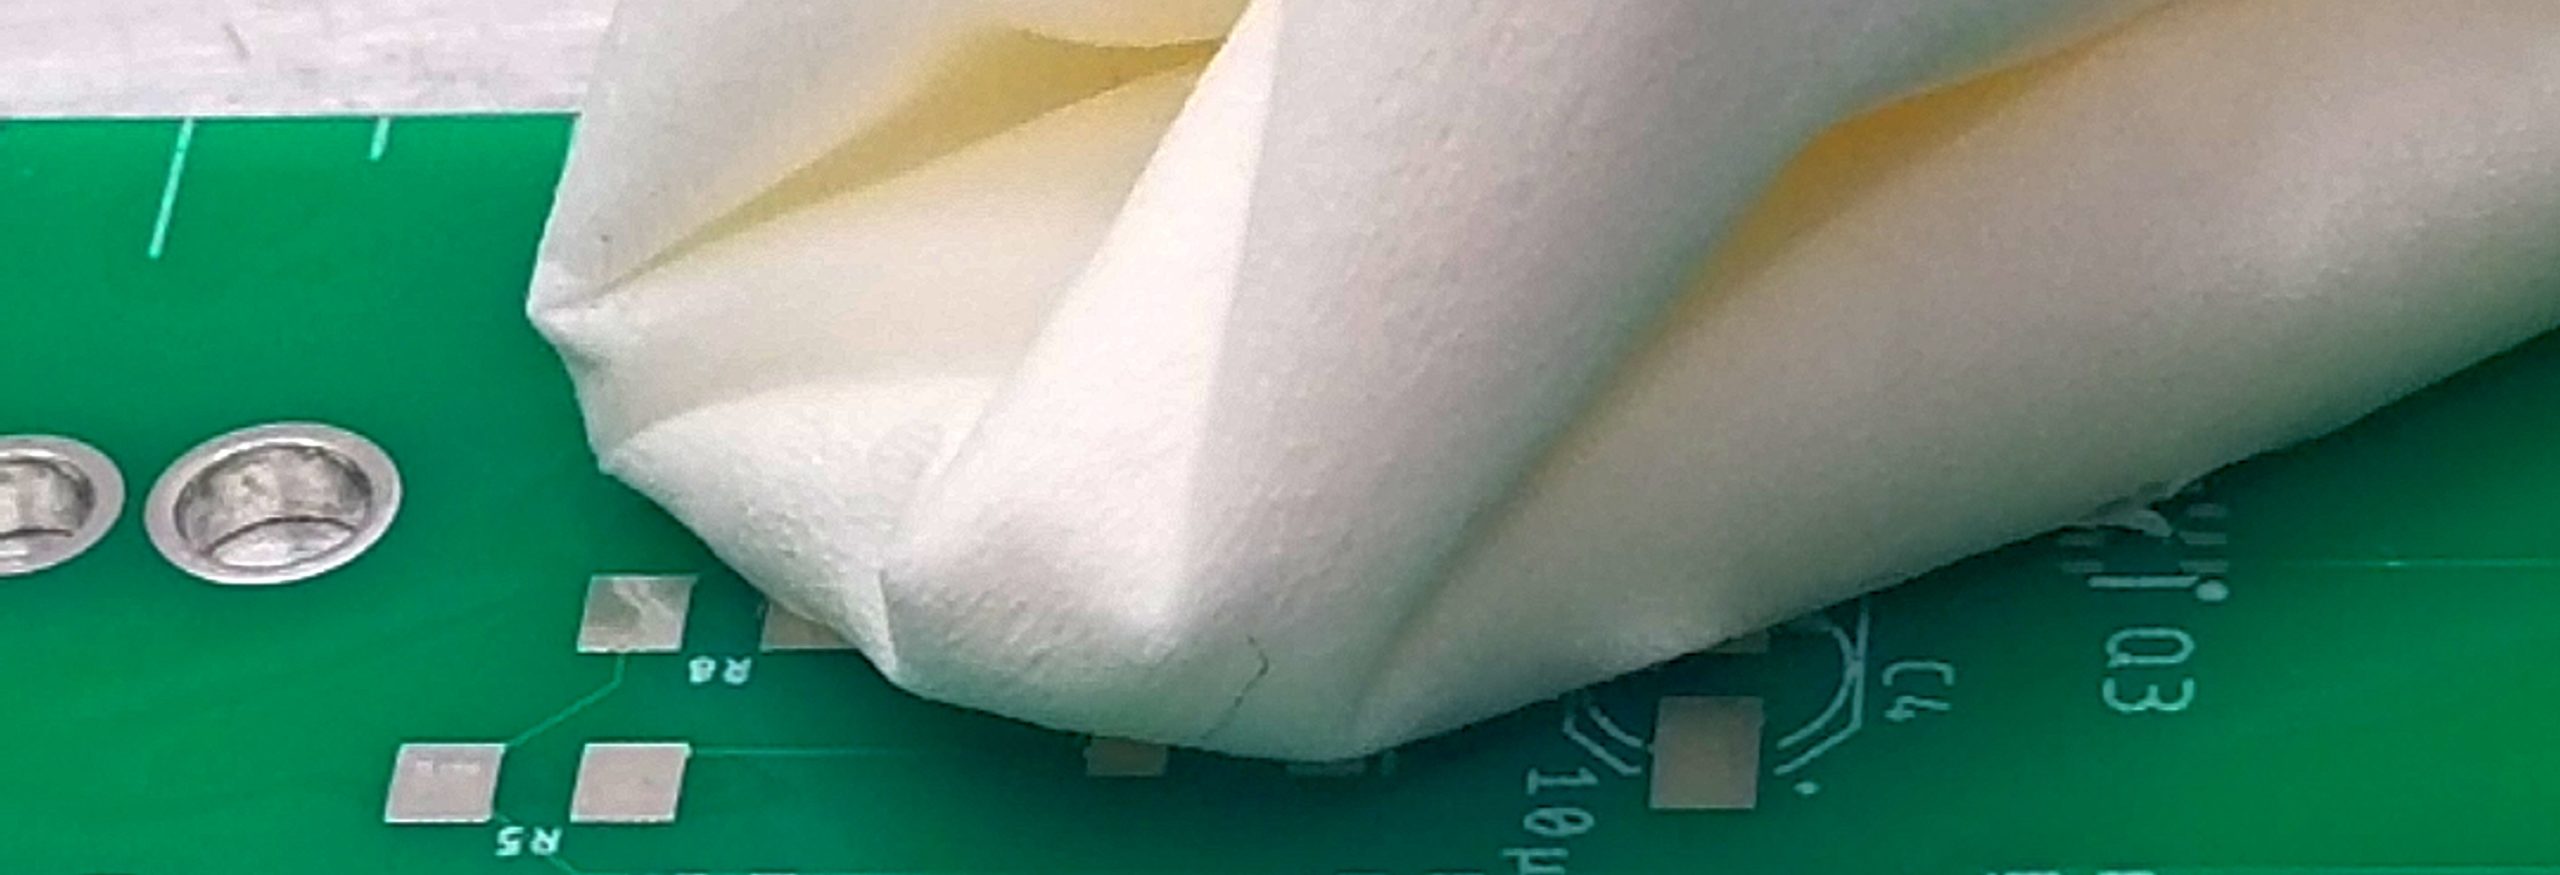
Prepare the PCB by taping it down to a heat-safe surface like a metal plate and cleaning the exposed metal contacts using a solvent like an isopropyl alcohol.
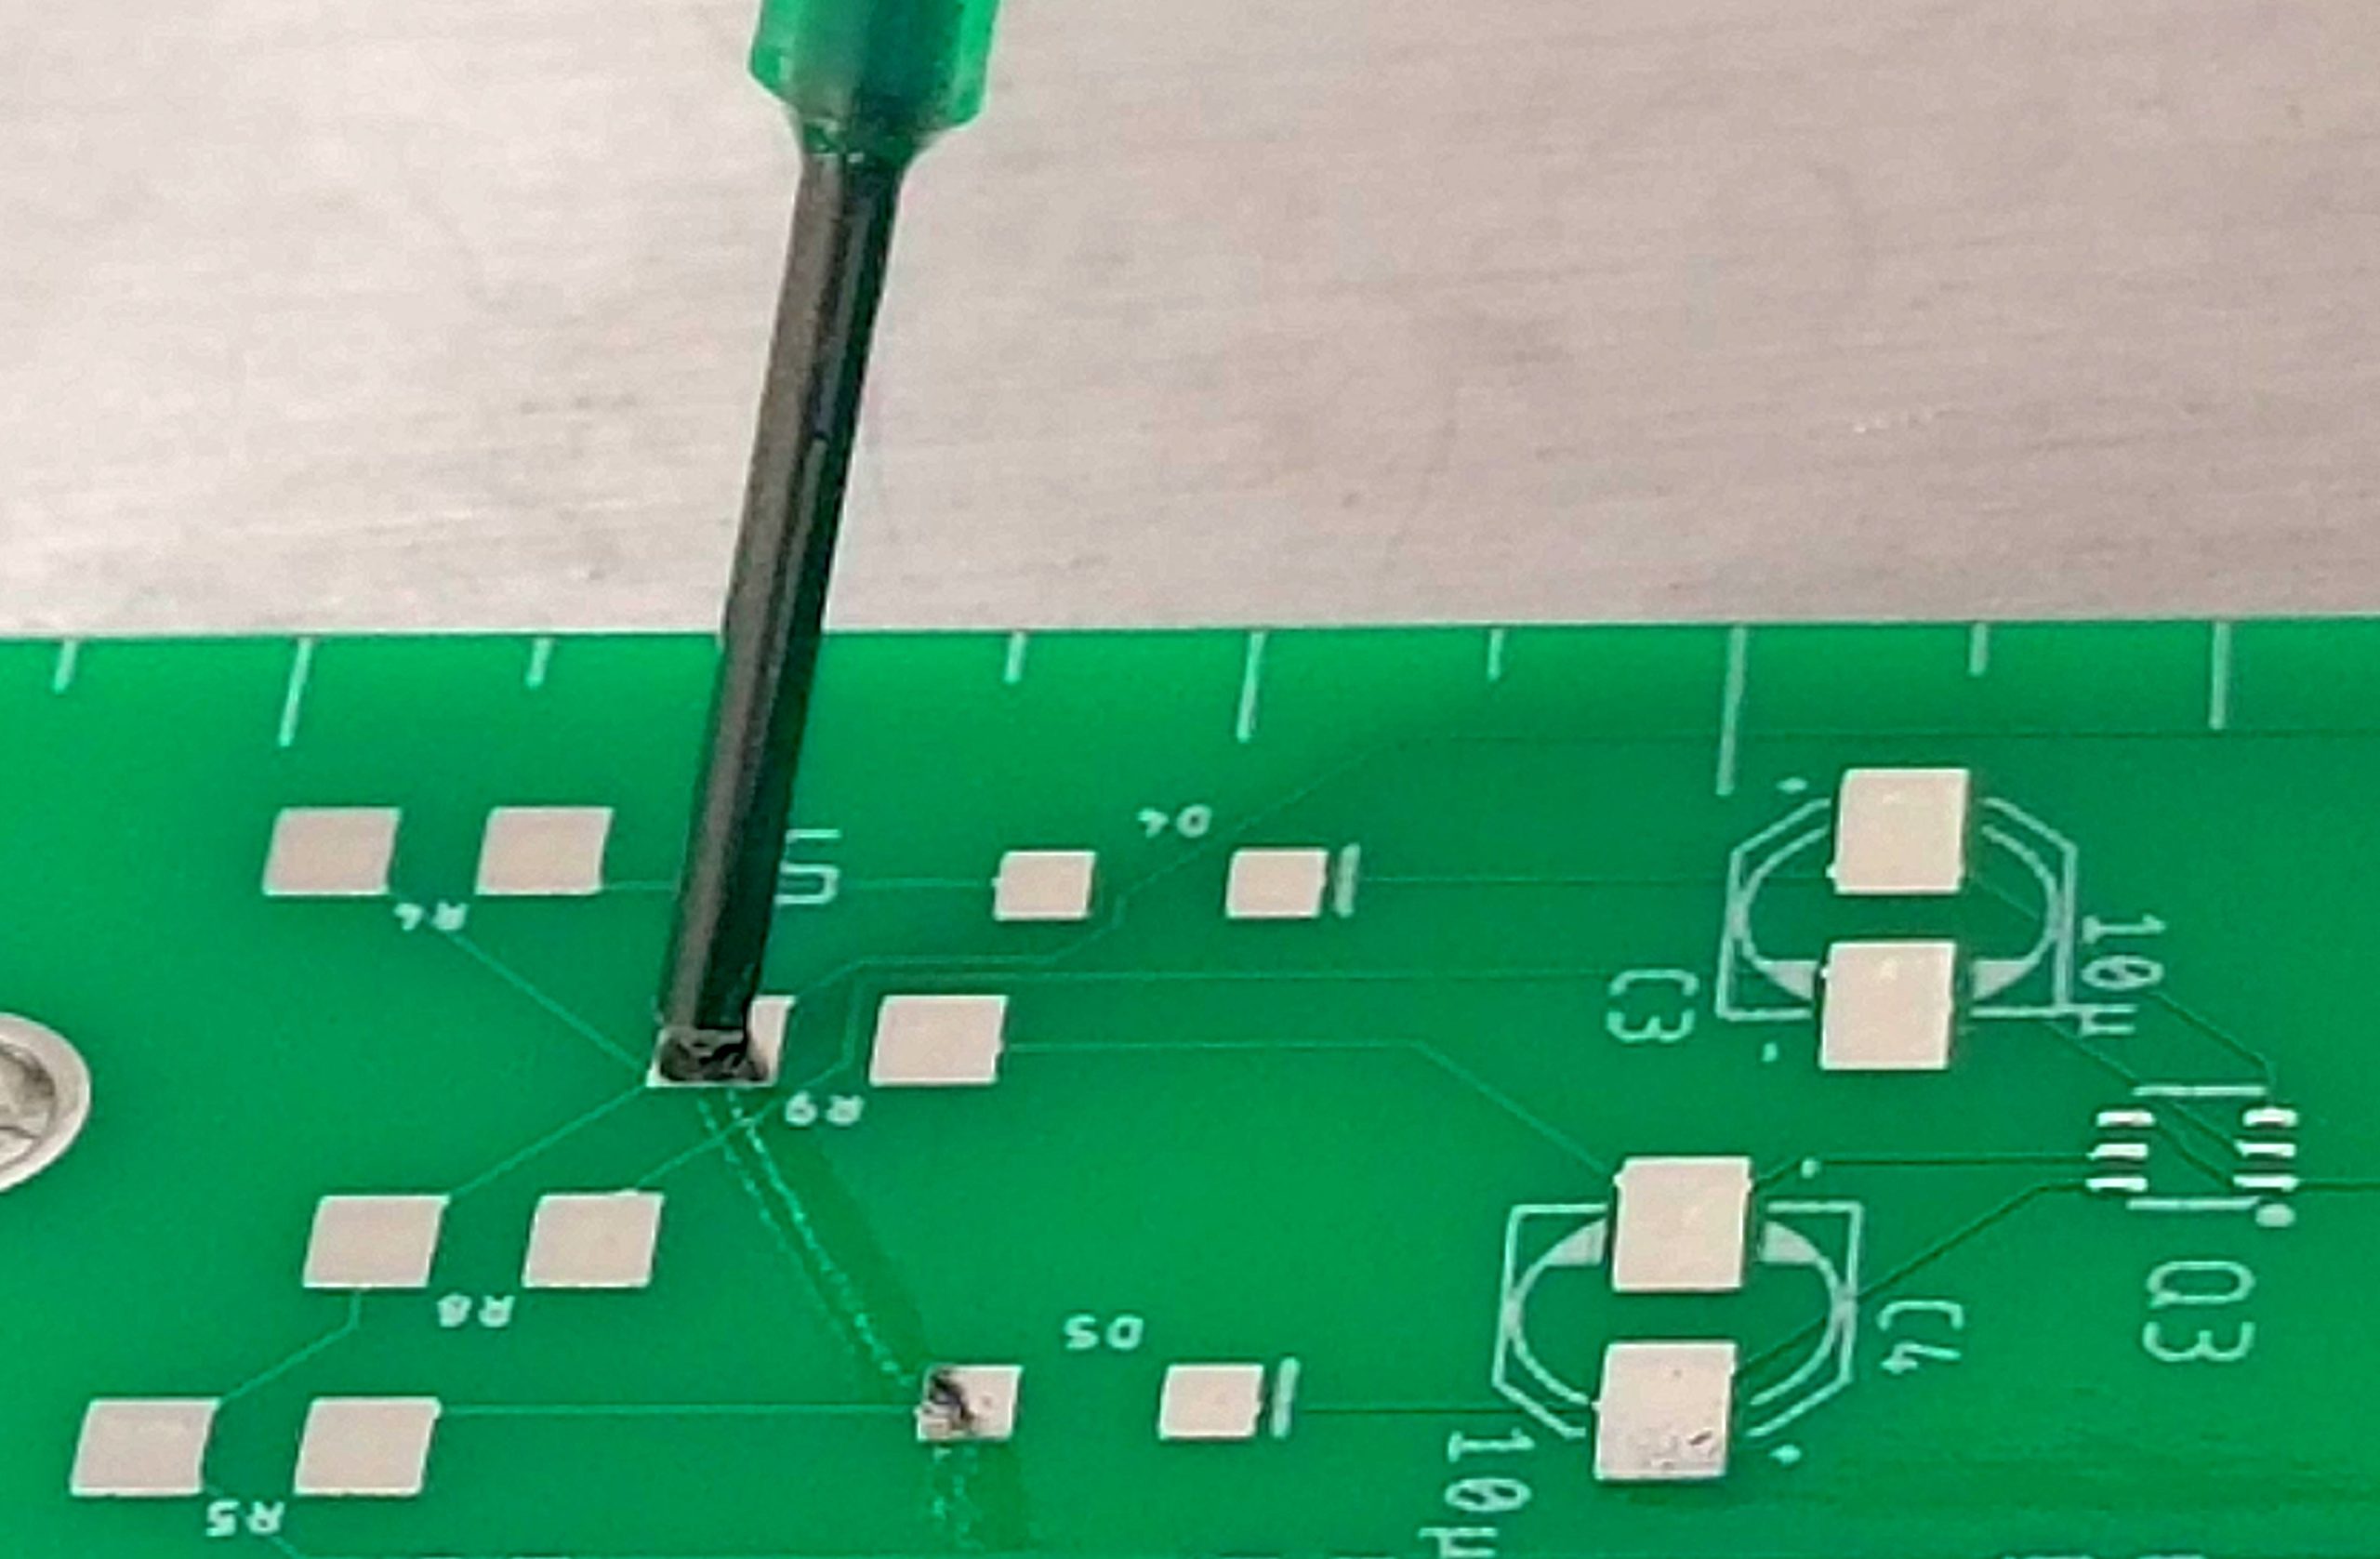
Apply a small amount of solder paste to the PCB solder pads. The solder paste contains small balls of solder suspended in flux, so this is fluxing the contacts as well. Since surface mount components are so small, not much paste is required. Today we are using a syringe dispenser to apply the solder paste, but this is also often done using a stencil that matches the solder pad locations.
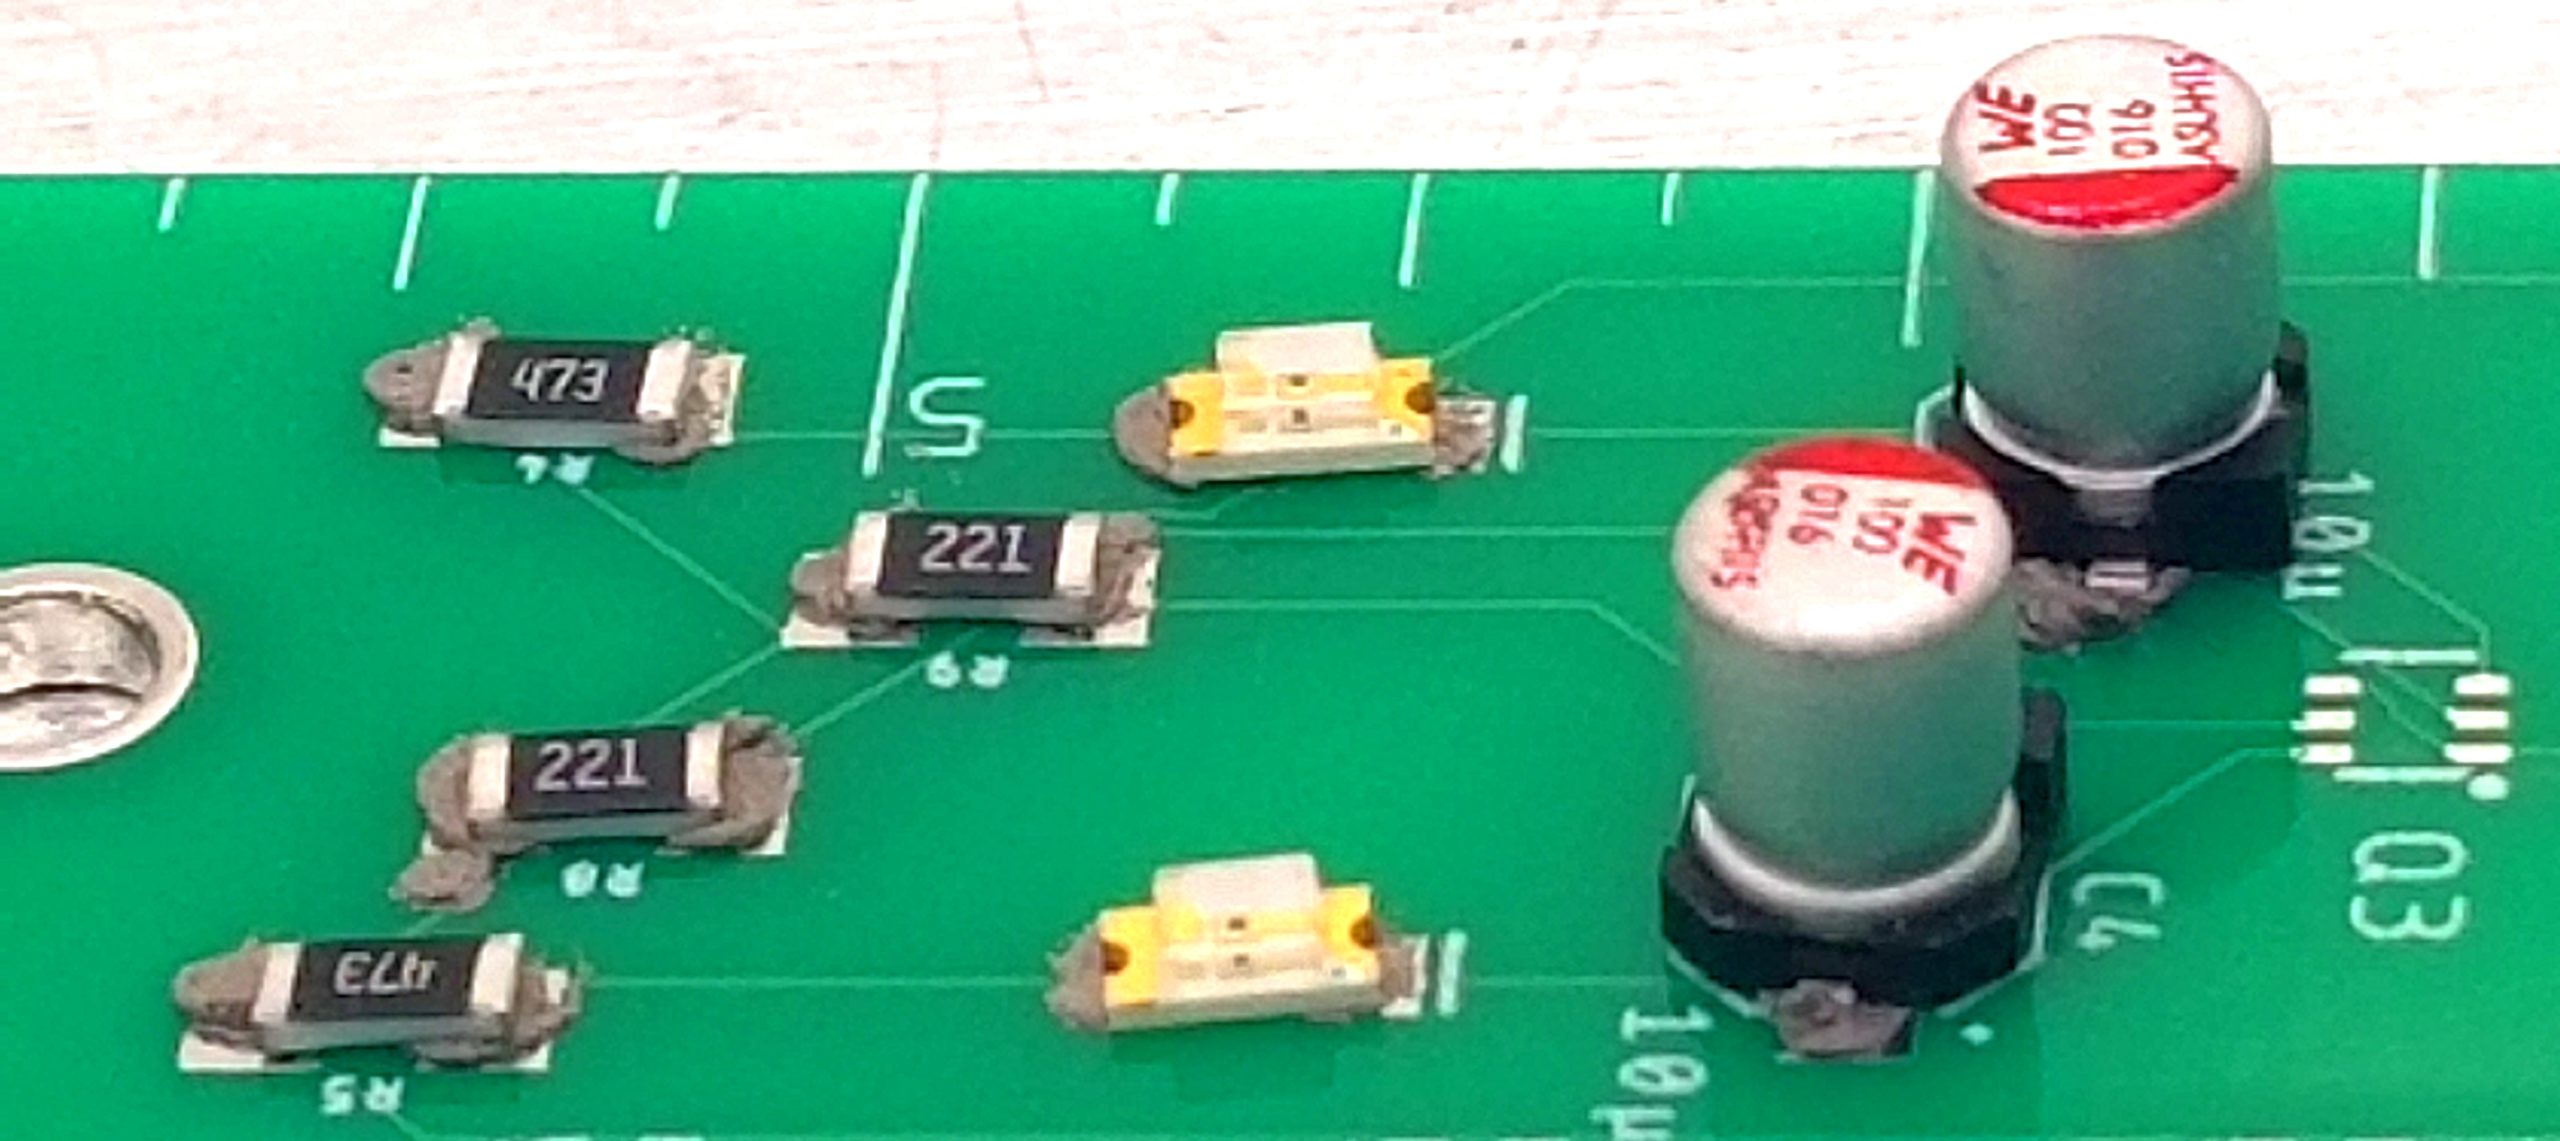
Components are then carefully placed onto the PCB using either tweezers or a pick and place machine, and then hot air can be applied to the components.
Heat
Care must be taken when applying hot air to the components. A hot air rework station can put out a surprising amount of heat and it applies heat to an area, making it easy to accidentally apply more heat than desirable resulting in damage to the PCB or other materials. The metal plate is an important safeguard against damaging your materials because it helps to absorb excess heat. When applying hot air for soldering, you want to start with the hot air far away from the components and slowly move toward the parts using a circular motion to avoid applying any excessive heat in any spot. If any parts begin to darken in color, warp, or smell like anything other than flux and solder, remove the heat and turn down the temperature/air flow and try again. You will slowly begin to see the solder paste begin to bubble as the flux boils away and the components will snap into place. After all of the solder paste has melted and solidified, inspect the area for errors like solder bridges or solder joints that never fully melted, and then clean using normal cleaning procedure.
Extra Credit
A soldering iron is a pretty great tool for soldering but not much else. The same cannot be said about a hot air source. Lower the air temperature to 250°F and raise the airflow a bit and remove adhesive stickers without leaving torn paper behind. Hot air can be great for applying even heat to heat shrink for protecting wires. Plastics can be carefully heated up and bent without burning. Hot air even makes drying a PCB after cleaning a breeze!
Need a solder paste stencil with your prototype order?
Get a quote for your design here!