It’s Friday night and the whole family is getting ready to have a fun night playing with their vintage arcade dartboard cabinet. As you reach for the power switch on the backside of the cabinet anticipating that familiar “DING” as the game starts up, instead you hear a hollow “click” and a long silence. The game won’t turn on. What is one to do in this situation? The company that sells this game isn’t around anymore with no clear method of resurrecting it. Time for another adventure in PCB repair from OnBoard Circuits Inc!
Discovery
A customer contacted us in regard to a dartboard that was no longer working. The cabinet was a Valley Cougar electronic dartboard game, and the customer had the inner compartment opened to allow access to the main PCB. Mains power from the wall was confirmed working and the game itself didn’t turn on.
Disassembly
Visual inspection reveals little. All of the PCB and cables look clean and in good condition aside from some dust built up over years. With no burns found in the circuit, we turned to measure the voltage entering and exiting the power supply, finding 120V entering and no voltage on the output. The supply was a plastic enclosed unit similar to an average laptop power supply, making further inspection and repair much harder to do without damaging the unit, so a replacement is recommended. The trouble is, the exact model is no longer available due to the age of the product.
Inquiry
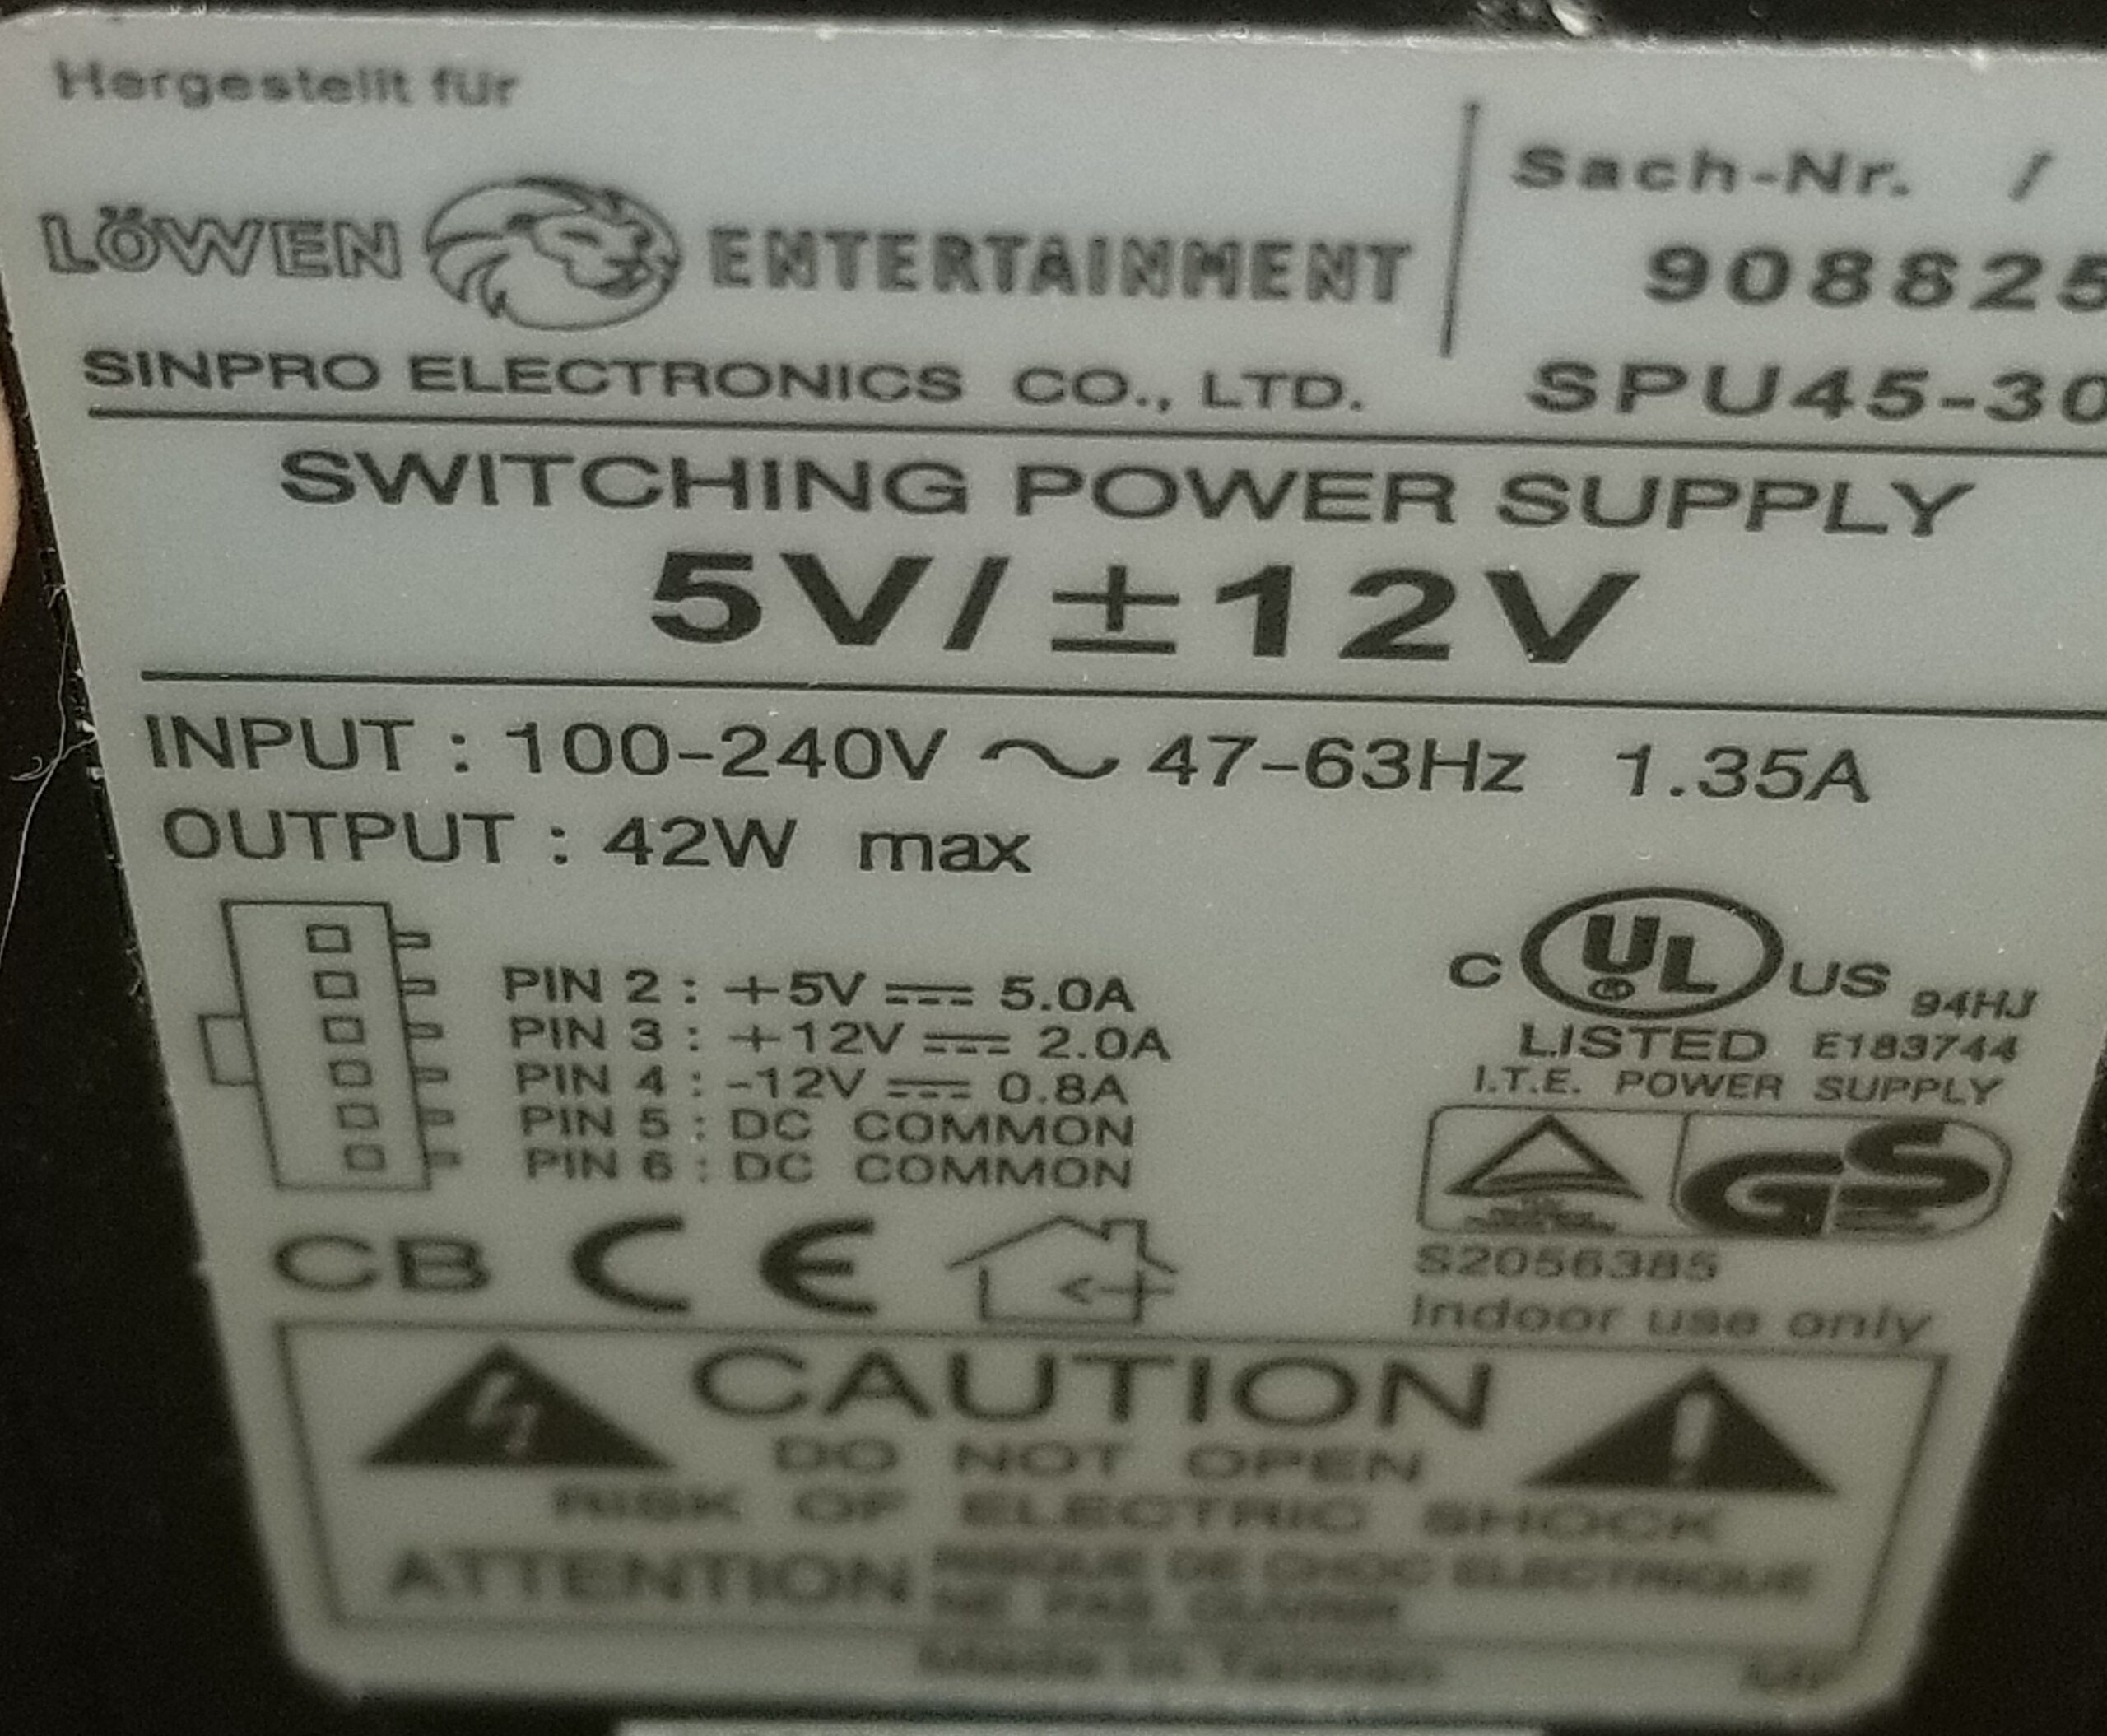
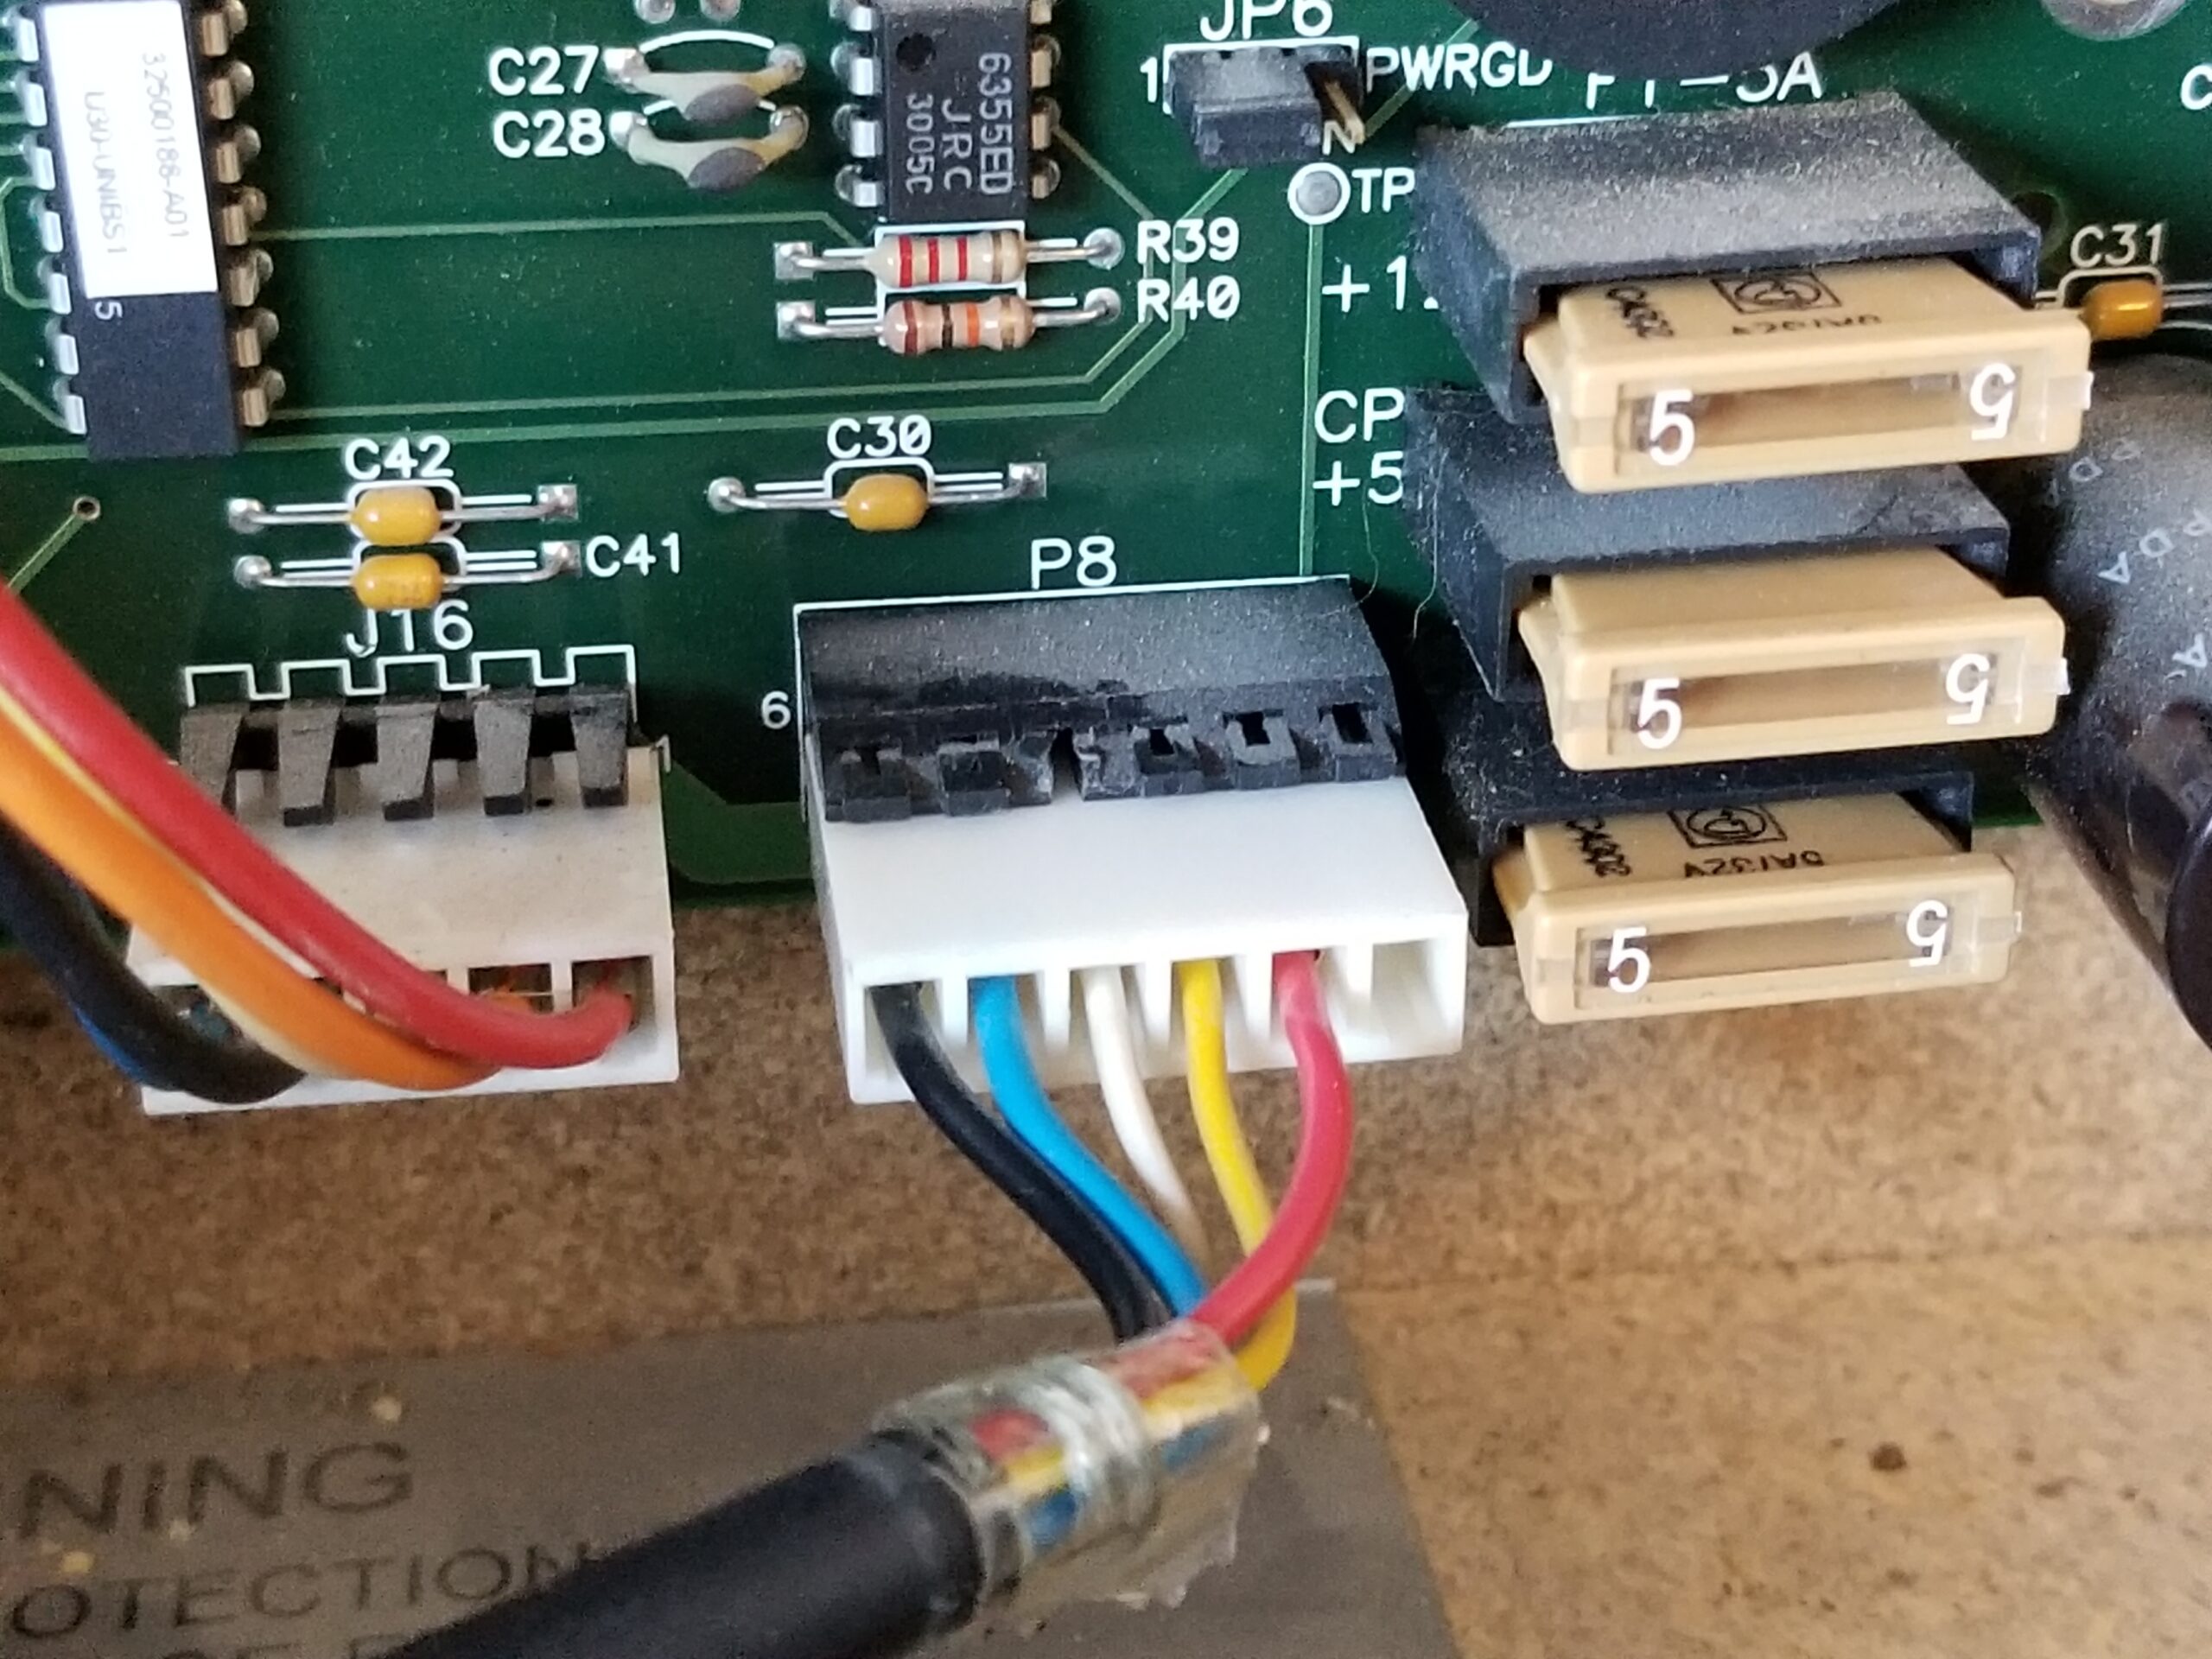
Since we needed to replace this unit with a totally different supply, we dived deeper into the technical details of the supply to find a suitable match. This cabinet used a 3 output power supply with its transformer tapped at points to provide +5V, +12V, and -12V at 5A, 2A, and 0.8A respectively. This means a suitable replacement should have the same output voltage and the maximum current rating must be either the same as the original or higher since if normal operations make the game pull 4 Amps from the 5V source, a power supply that can only give 3 Amps would be destroyed. A supply SDS60UT05 was identified, having the same three output voltages available, with the greater current available being 6A, 3A, and 0.8A for the +5V, +12V, and -12V outputs. This is great, but it isn’t the end of the story. The original power supply had an output connector that fastens to the main game PCB, and this new power supply has a totally different connector for both input and output power. So in this state, the new supply can’t receive power and can’t connect to the main PCB. To make matters worse, the common Molex type connector that fits the output of the power supply happened to be completely out of stock everywhere when this repair was being attempted. Materials were limited, so it was clear that some surgery would be required to recover some donor parts from the old supply.

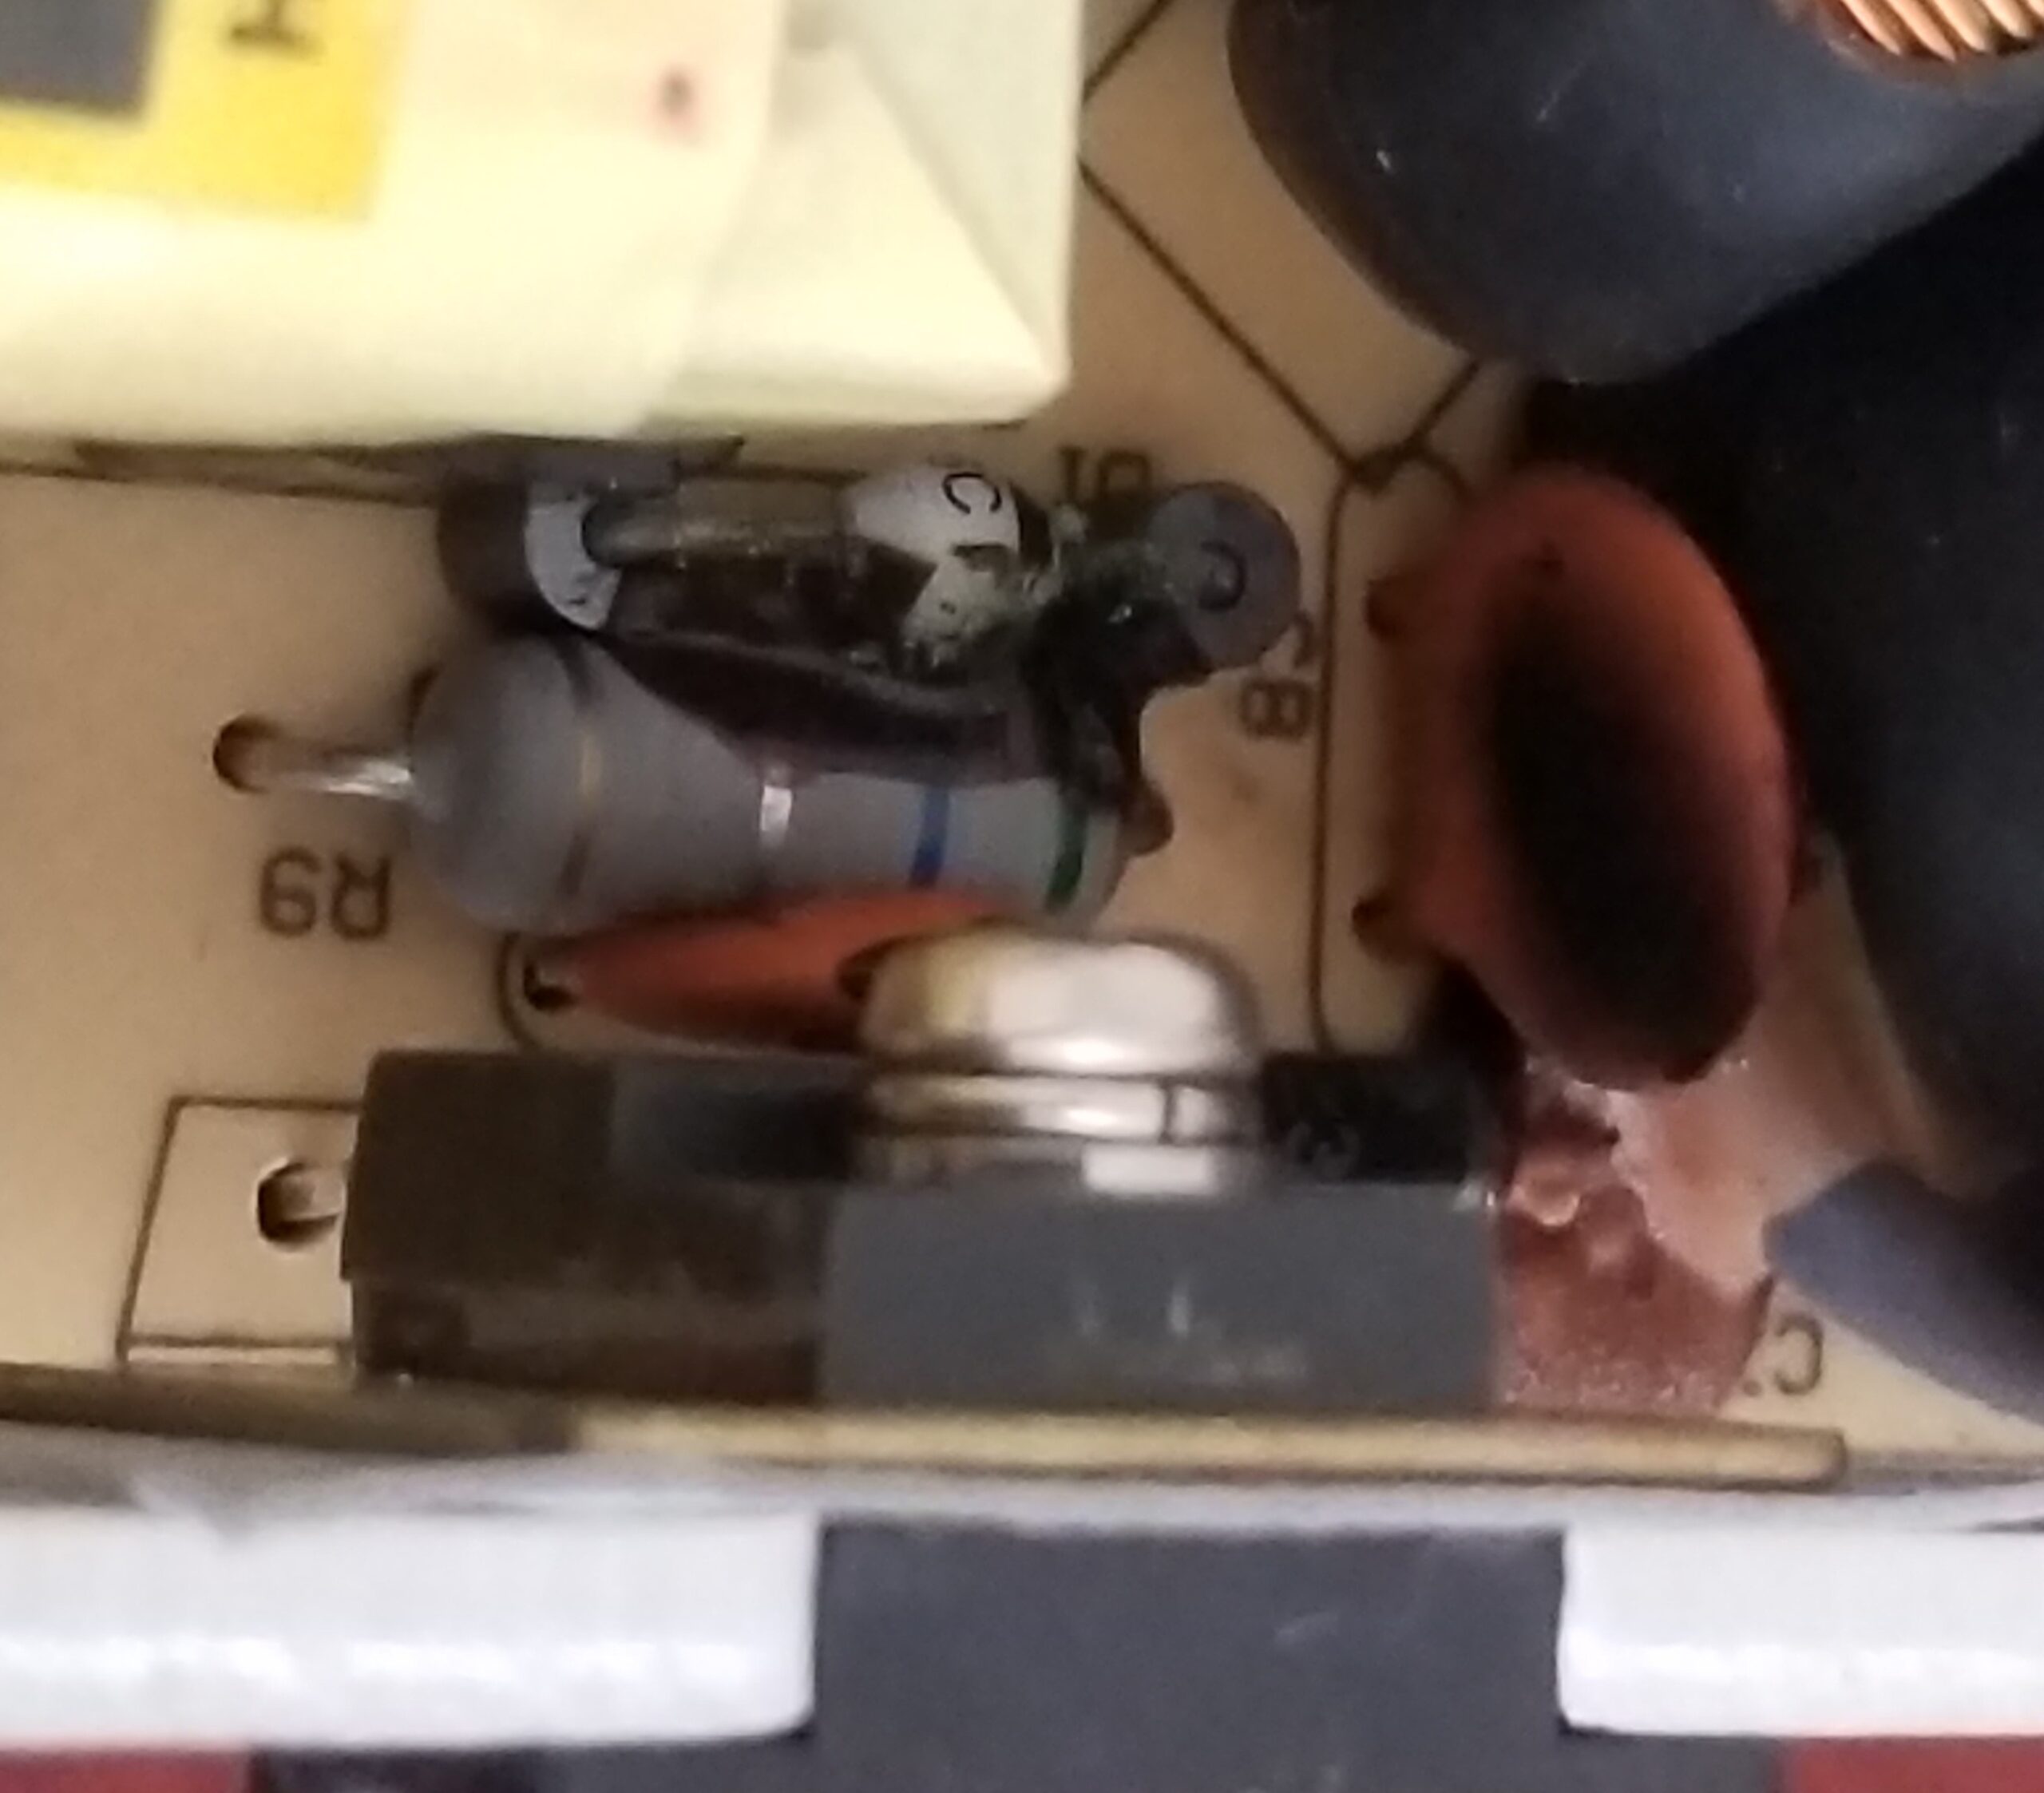
The plastic enclosure for the old supply was opened and inner metal shielding was removed. With the old supply opened and its inner components now visible, it became clear to see the source of the problem, a burn mark, and a partially melted component. Luckily nothing near the input and output power connectors were harmed in the least so those were safely liberated from the burned supply. Making sure to match the dead supply’s output polarity, the donor connectors were used to replace the connectors already on the new supply, and then the entire unit was wrapped in Kapton tape to insulate the exposed supply and protect it from shorts.

Resolution
In the end, it all worked out, as the new power supply was installed into the cabinet and the power switch flipped, that old familiar “DING” returned. The family could play their dart game once again.
Get a quote for your prototype PCB here!


I have the same model Valley dart board that the power supply died on. Previous “tech” crudely soldered wires onto the pins instead of cutting and reusing old harness. BUT they soldered them on in reverse order. The machine had worked but erratic for awhile until I discovered the bad soldering. Cleaned the soldering and put the wires in the correct order and now the game does not work at all.
Can you do board level repair on this without the entire game? I’m in Jeffersonville, IN and shipping the whole machine is not an option.
Joe, Unfortunately we do not deal with board repairs. You may want to search online for board repair shops. Good luck!